


This guide explains how to deploy ZenCommunity (Free + Pro) with its Live Communication (WebSocket) feature on a FlyWP-managed Ubuntu VPS, using the Nginx server stack and Docker-based isolation.
Target audience: Intermediate–senior WordPress developers and DevOps engineers who are comfortable with SSH, Docker, and WP‑CLI.
Architecture Overview
At a high level, the setup looks like this:
- FlyWP provisions and manages the VPS, Docker Compose stack, and service lifecycle
- WordPress runs inside a PHP‑FPM container
- ZenCommunity WebSocket server runs as a long‑lived background process inside the PHP container
- Supervisor (FlyWP integration) ensures the WebSocket process starts automatically and restarts if it crashes
- Nginx container proxies
/wsrequests to the WebSocket server
This approach keeps everything container‑local, avoids exposing arbitrary ports publicly, and survives container restarts.
Prerequisites & Assumptions
Before starting, ensure:
- You have an active FlyWP account and a provisioned server
- You are comfortable with:
- SSH access to the server
- Docker & Docker Compose basics
- WP‑CLI usage
- Your site will use:
- Nginx server stack
- PHP 7.4+ (8.2 recommended)
Note: This guide focuses on Nginx. OpenLiteSpeed (OLS) can also work, but configuration details differ and are out of scope.
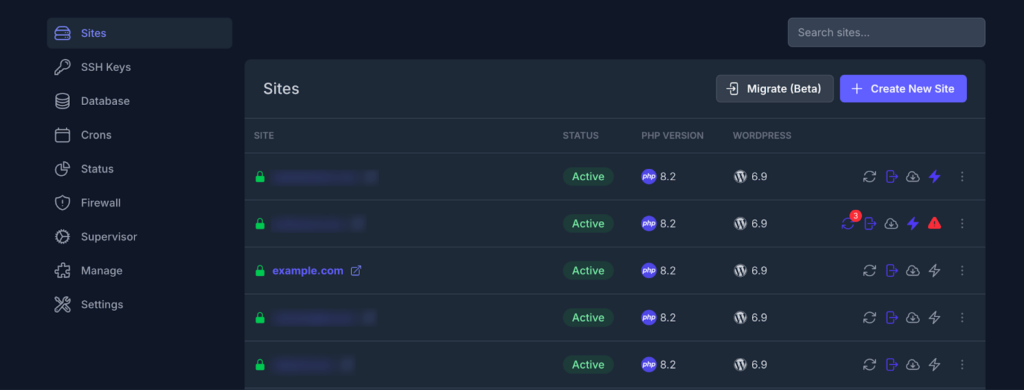
Step 1: Create a WordPress Site on FlyWP
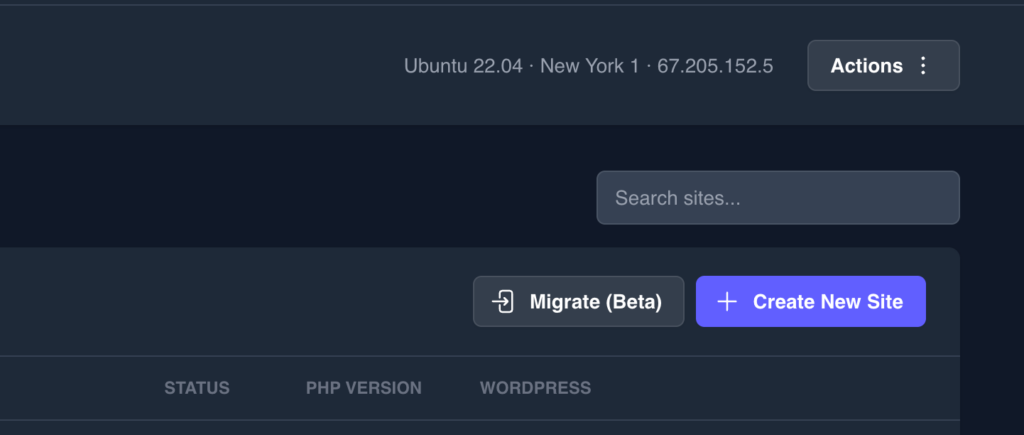
- Log in to the FlyWP Dashboard
- Select the target server
- Click Create New Site
- Choose:
- WordPress (any variant you prefer)
- Your domain (or FlyWP test domain)
- On the stack selection screen:
- Select Nginx as the server stack
- Choose PHP 7.4 or higher
- Complete the setup wizard
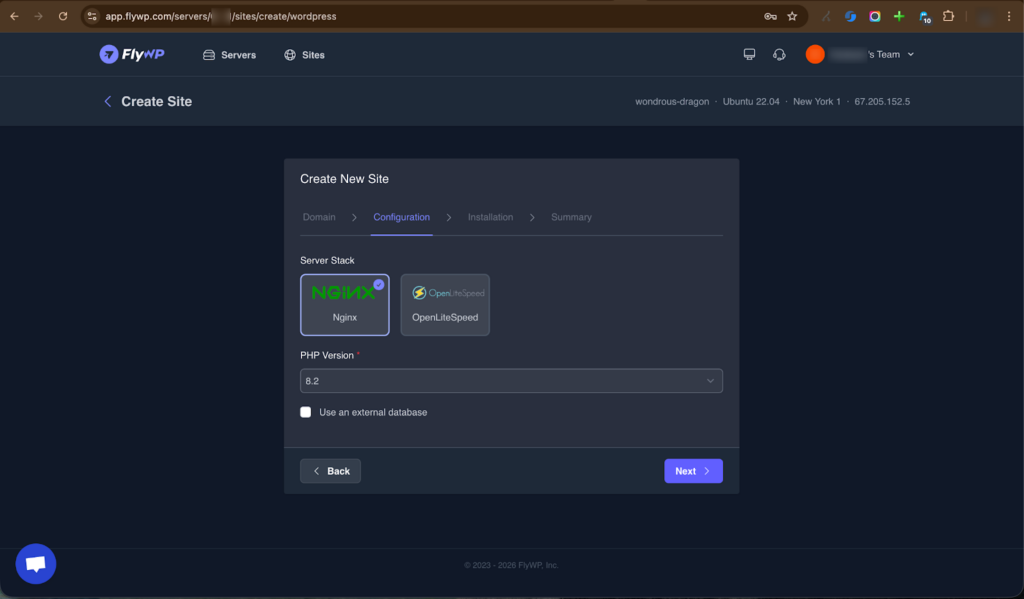
Once finished, FlyWP will provision the Docker stack for your site.
Step 2: Install ZenCommunity (Free & Pro)
- Log in to
wp-admin - Navigate to Plugins → Add New
- Install ZenCommunity from the WordPress.org repository
- Upload and install ZenCommunity Pro (ZIP archive)
- Activate both plugins
After activation:
- Go to ZenCommunity → Settings
- Configure required options
- Save changes
Finally, flush permalinks:
- Go to Settings → Permalinks
- Click Save Changes (no changes required)
Step 3: Identify Docker Container Names
FlyWP creates isolated Docker containers per site. You need the container names to:
- Execute WP‑CLI commands
- Configure Nginx proxying
- Attach Supervisor daemons
Assuming your site domain is example.com:
cd ~/example.com
docker compose ps
Typical output:
|
|
|
|
|
|
|
|
|
|
|
|
|
|
|
From this:
- Nginx container:
examplecom-nginx-1 - PHP‑FPM container:
examplecom-php-1
The WebSocket server will run inside the PHP container.
Step 4: Verify WebSocket Command & Container Networking
Before automating anything, verify that:
- The ZenCommunity WP‑CLI command is available
- The chosen port is free
- Containers can resolve each other by name
4.1 Enter the PHP Container
docker exec -it examplecom-php-1 /bin/bash4.2 Test the WebSocket Server
Run:
wp zc-socket start --port=9001Expected output (if the port is free):
Success: ✅ WebSocket server started at ws://example.com:9001- Press CTRL + C to stop the server
- If this fails, resolve port conflicts or WP‑CLI issues before proceeding
Exit the container:
exit4.3 Verify Container-to-Container DNS
Enter the Nginx container:
docker exec -it examplecom-nginx-1 /bin/shPing the PHP container:
ping examplecom-php-1If this fails, Docker networking is broken—contact FlyWP support before continuing.
Step 5: Run the WebSocket Server via Supervisor
FlyWP provides native Supervisor integration, which is ideal for long‑running background processes.
Why Supervisor?
- Ensures the WebSocket server starts on boot
- Automatically restarts on crashes
- Avoids manual
docker execafter reboots
5.1 Install Supervisor (First Time Only)
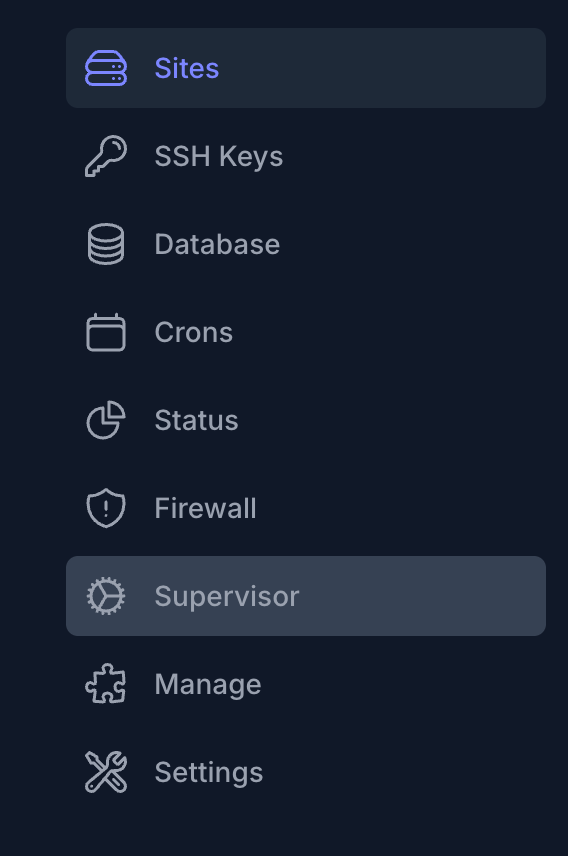
- Go back to the FlyWP dashboard
- Navigate to Supervisor from the sidebar
- Install Supervisor if prompted
5.2 Add a Supervisor Daemon
Click Add Daemon and configure:
- Start Seconds:
5 - Stop Signal:
INT (Interrupt)
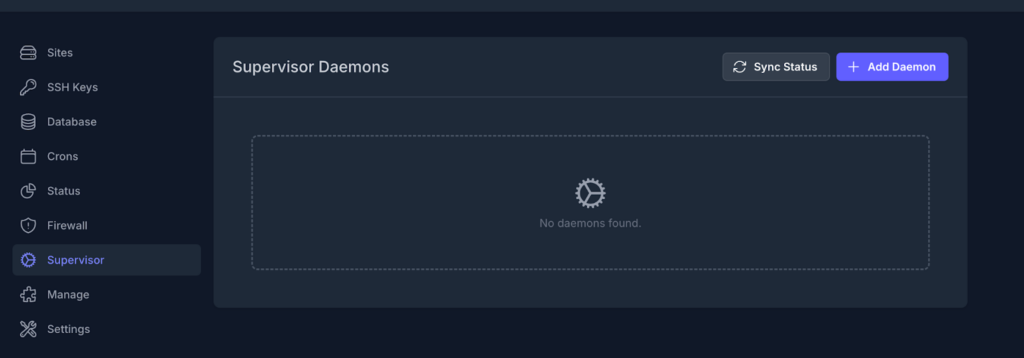
Command:
sh -c 'until docker inspect -f "{{.State.Running}}" examplecom-php-1 2>/dev/null |
grep -q true; do sleep 2; done && docker exec examplecom-php-1 wp zc-socket start -
-port=9001 --host=0.0.0.0'
sh -c 'until docker inspect -f "{{.State.Running}}" examplecom-php-1 2>/dev/null | grep -q true; do sleep 2; done && docker exec examplecom-php-1 wp zc-socket start --port=9001 --host=0.0.0.0'’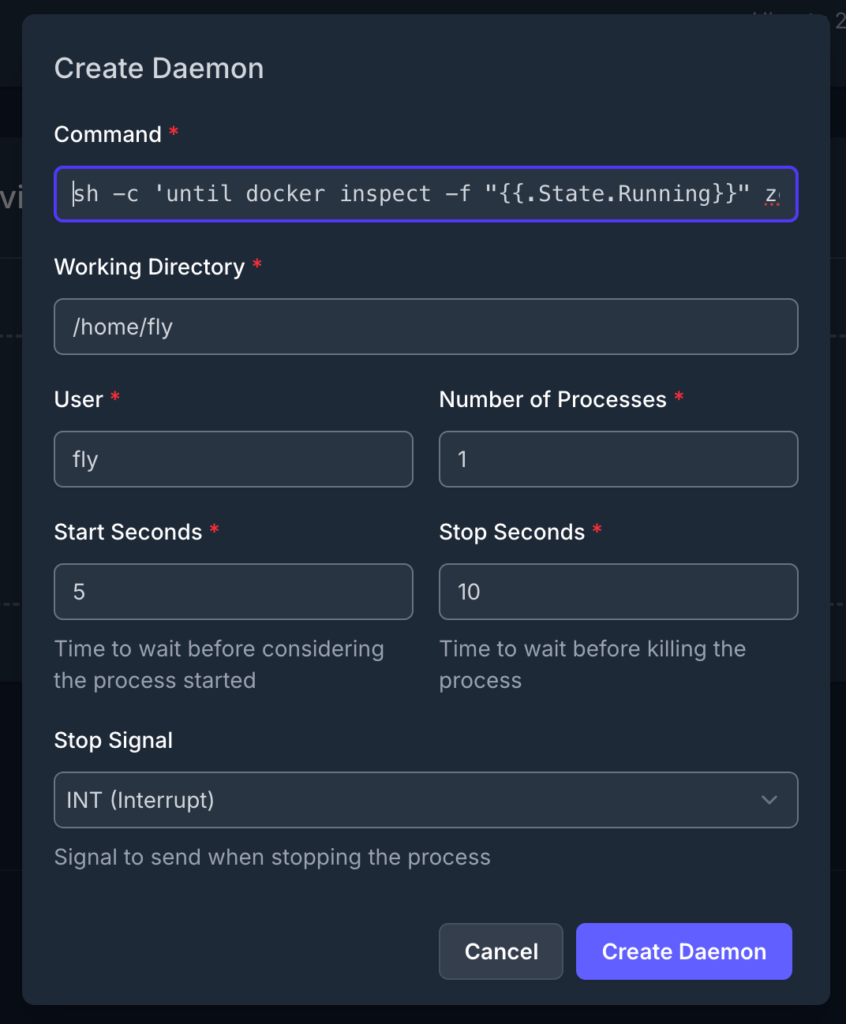
What this command does
- Waits until the PHP container is fully running
- Starts the ZenCommunity WebSocket server
- Binds to
0.0.0.0so Nginx can reach it internally
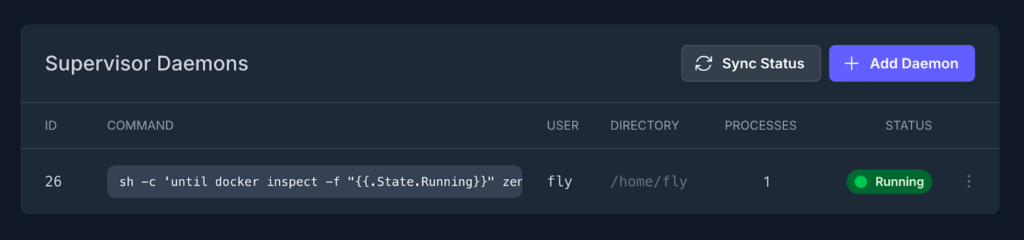
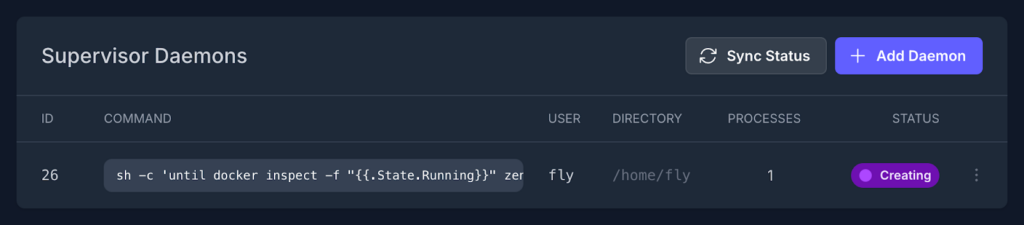
After creation, the daemon status should turn green (Running).
Step 6: Expose WebSocket via Nginx Proxy
The WebSocket server must be reachable by frontend JavaScript without exposing port 9001 publicly.
6.1 Edit Nginx Config
- Open your site in FlyWP
- Click NGINX Config
- Locate the line:
include custom/server/*.conf;
- Add the following after it:
location /ws {
proxy_pass http://examplecom-php-1:9001/; # trailing slash is required
proxy_http_version 1.1;
proxy_set_header Upgrade $http_upgrade;
proxy_set_header Connection "upgrade";
proxy_set_header Host $host;
proxy_read_timeout 86400;
}
⚠️ Important: The trailing slash in proxy_pass is required for correct WebSocket routing.
6.2 Save & Restart Nginx
- Click Save Changes
- If FlyWP shows a permission warning, ignore it
- Go to Manage → Restart Nginx
Step 7: Test Live Communication
- Open your site in a new browser tab
- Navigate to a ZenCommunity page
- Look for the green pulsing dot (bottom‑left corner)
If visible:
- WebSocket connection is active
- Live chat and real‑time notifications should work instantly
Troubleshooting Tips
- WebSocket not connecting
- Confirm Supervisor daemon is running
- Check Nginx restart completed successfully
- Port already in use
- Choose a different port (e.g., 9002) and update both Supervisor + Nginx configs
- Container name mismatch
- Re‑run
docker compose psand update configs accordingly
Known Issues & Operational Notes
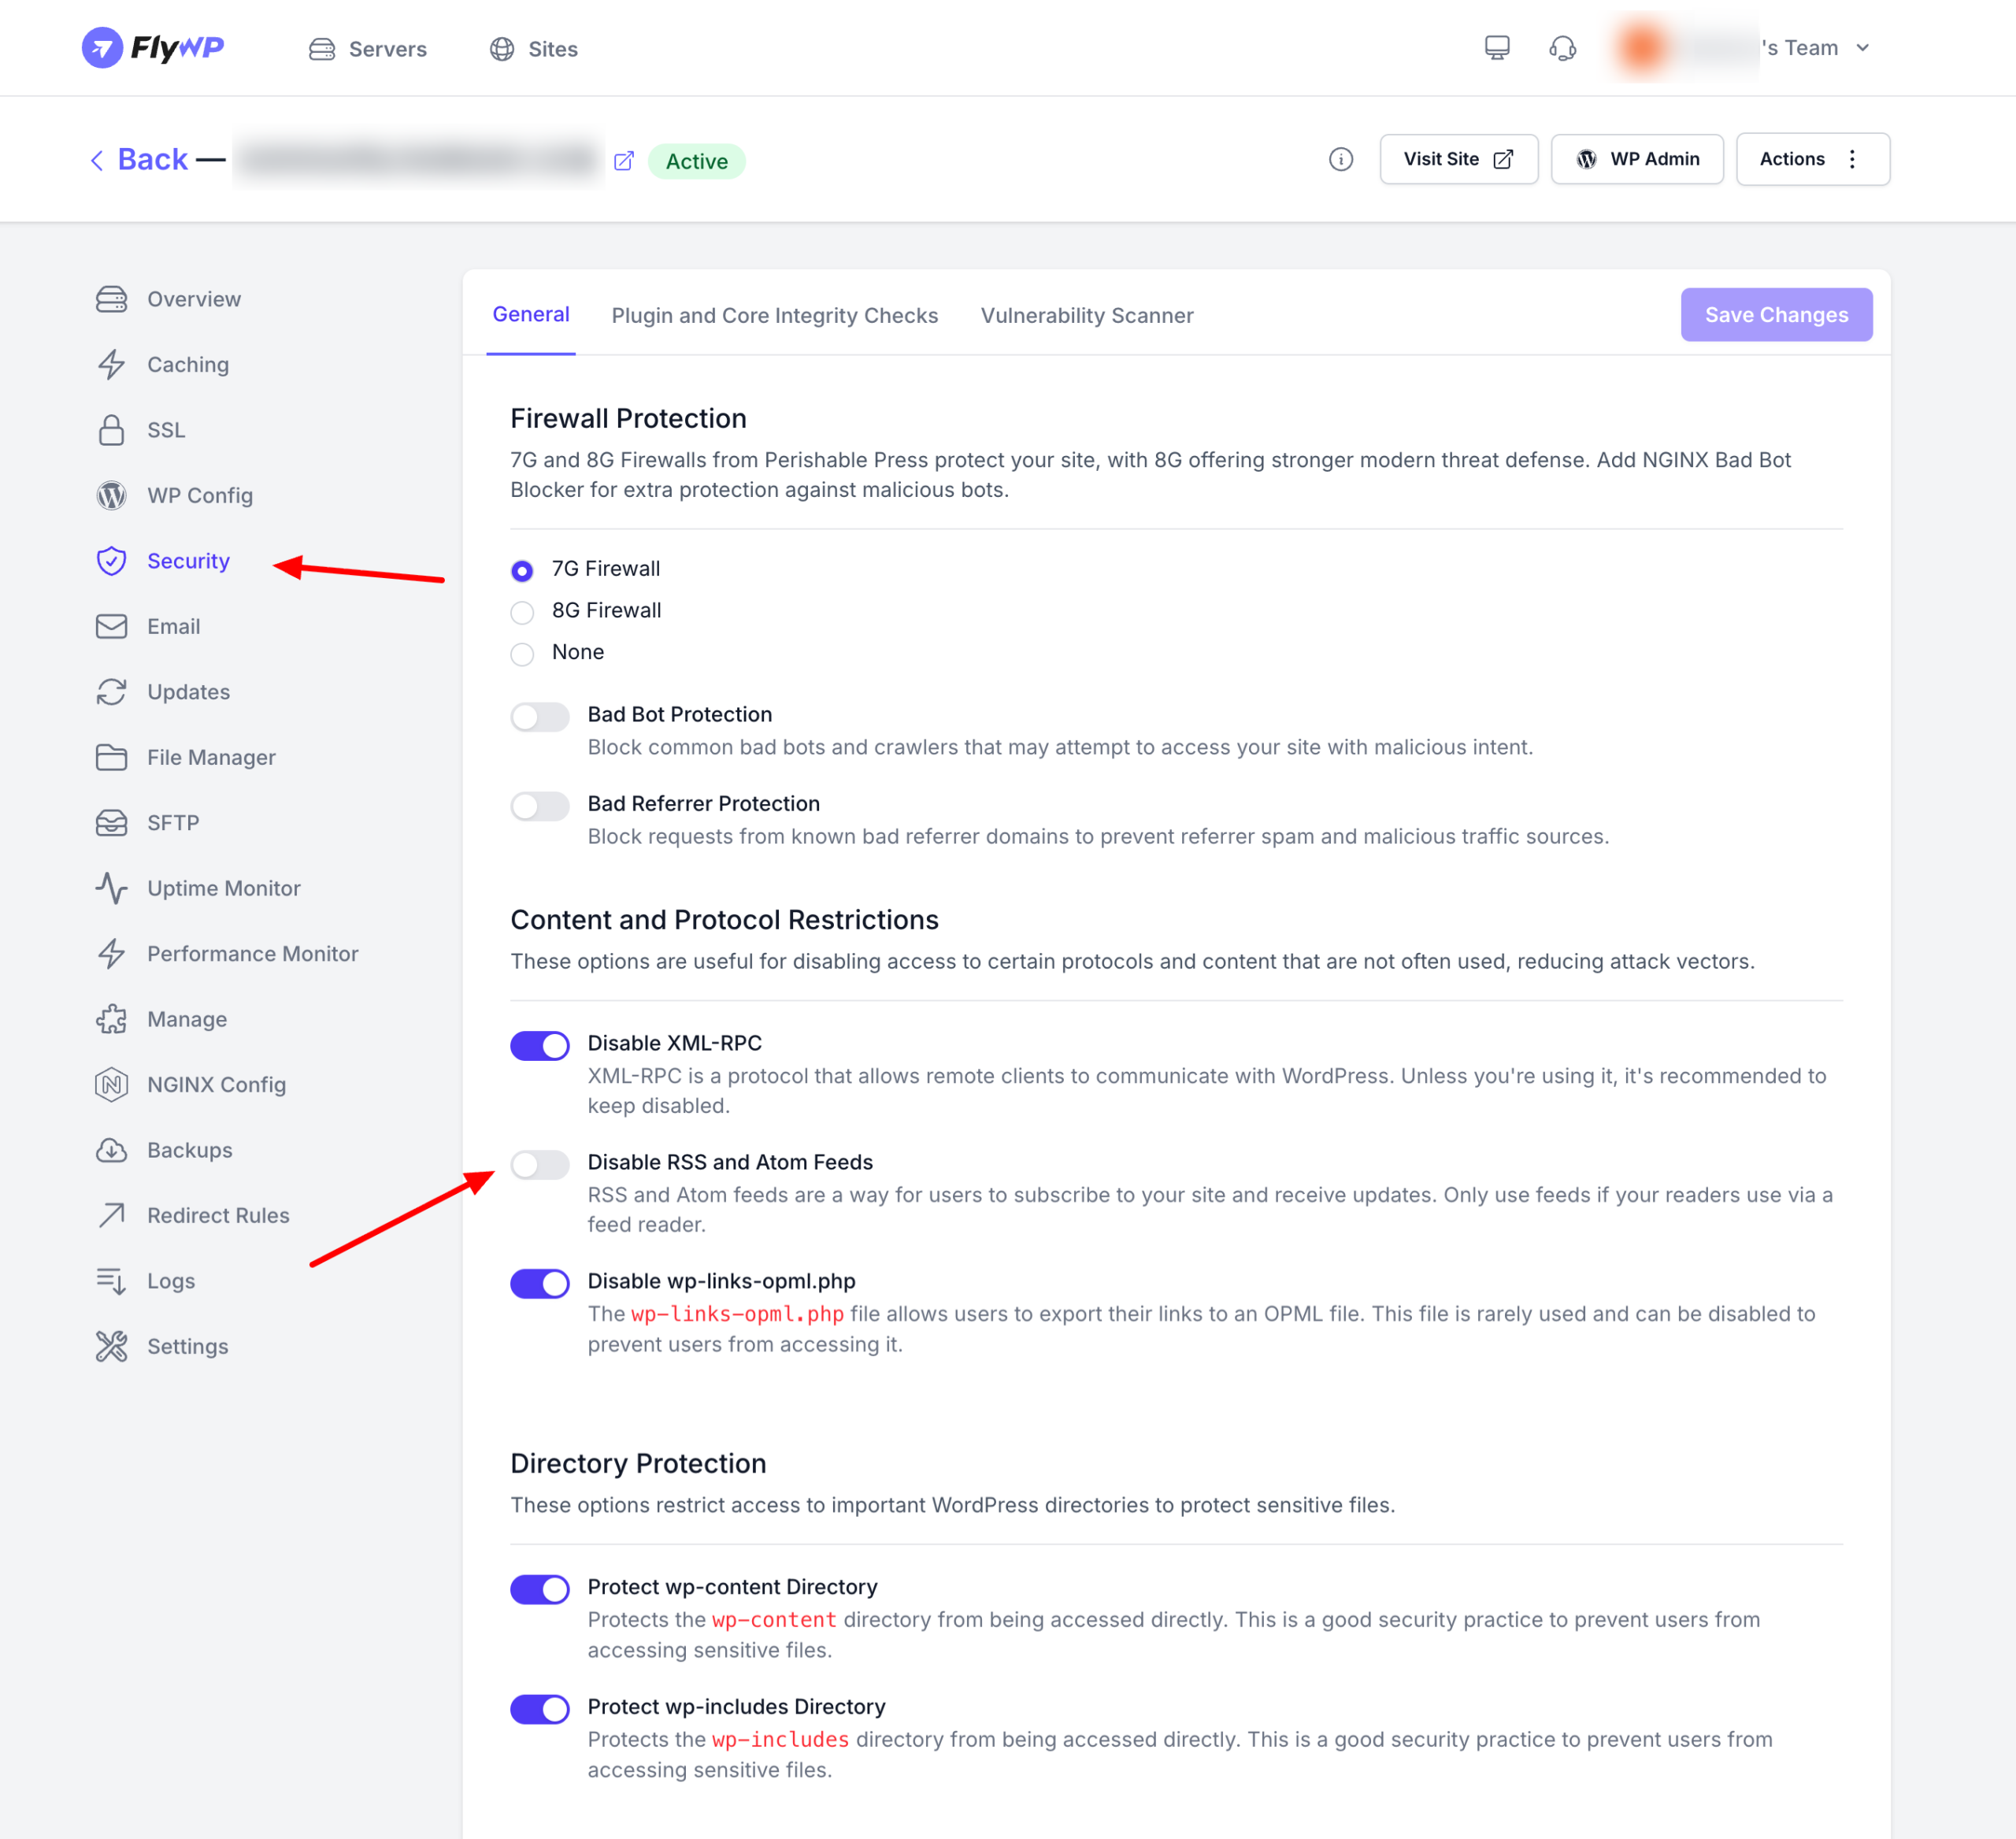
ZenCommunity Live Communication will not work correctly if RSS and Atom feeds are disabled in FlyWP.
In FlyWP → Security → General → Content and Protocol Restrictions, the option
“Disable RSS and Atom Feeds” must stay OFF.
This is not optional.
If this option is enabled:
- Real-time events may fail silently
- WebSocket can connect, but updates will not sync
- Live features may appear broken without errors
ZenCommunity relies on core WordPress feed endpoints for internal data flow. Blocking them breaks live communication logic.
Do not enable “Disable RSS and Atom Feeds” in FlyWP. Keeping RSS/Atom enabled is required for ZenCommunity to function properly.
Supervisor Process Control Limitation
FlyWP runs Supervisor in a separate container from your site containers. Because of this, Supervisor cannot directly manage the WebSocket process lifecycle inside the PHP container in the same way it would on a traditional VM.
What this means in practice:
- Supervisor can start the WebSocket daemon when the service stack restarts
- Supervisor cannot reliably stop or signal the already-running WebSocket process inside the PHP container
- On restarts, Supervisor may attempt to start a new instance if the old one is still running
This is a known limitation of cross-container process supervision and is expected behavior.
Recommended Way to Restart or Stop WebSocket
If you need to terminate, restart, or recover the WebSocket server:
Option 1: Restart PHP Service (Recommended)
The simplest and safest approach:
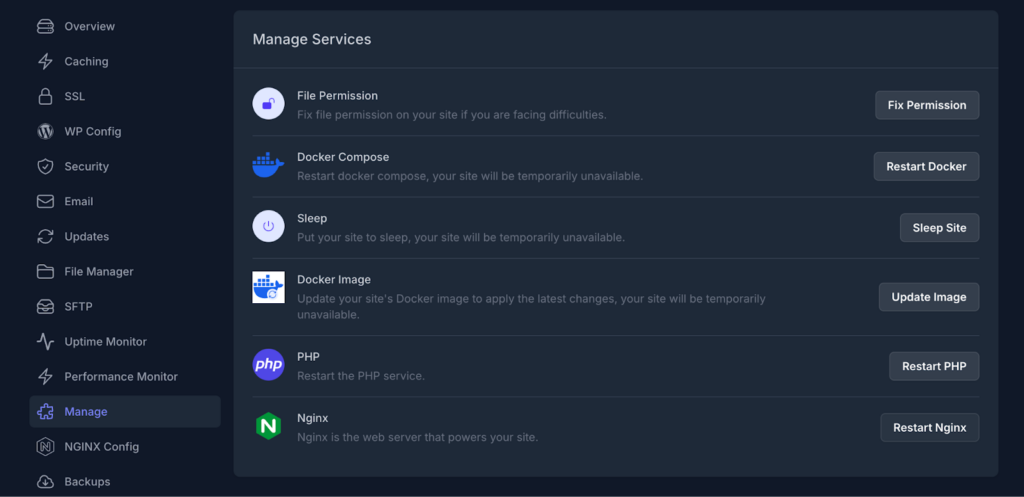
- Go to FlyWP → Site → Manage
- Click Restart PHP
This will:
- Stop the PHP container
- Terminate the WebSocket process
- Allow Supervisor to cleanly start it again
Option 2: Manually Kill the WebSocket Process
If you need finer control:
- SSH into the server
- Find the WebSocket process PID:
docker exec examplecom-php-1 ps aux | grep '[z]c-socket' | awk '{print $2}'- Kill the process:
docker exec examplecom-php-1 kill 2581- Go to Supervisor in FlyWP
- Open the three-dot menu for the WebSocket daemon
- Click Restart Daemon
Notes
- Avoid running multiple WebSocket instances on the same port
- Always ensure the previous process is terminated before restarting
- Restarting the PHP service is the safest recovery method in production
Summary
You now have:
- ZenCommunity running on FlyWP
- A resilient WebSocket server managed by Supervisor
- Secure internal communication via Nginx proxying
This setup is production-ready, restart-safe, and aligned with FlyWP’s Docker-first architecture.